How to Prepare a Room and Your Walls for Painting?
Whether you’re painting a room for the first time or you’re an experienced painter, you’ll want to make sure your walls and room are prepped well before painting starts.
This is important for ensuring a smooth, streak-free finish. Prep work can involve several steps, depending on the condition of the wall.
The first step in preparing a room for painting is to move furniture out of the room. Next, prepare the surface of the wall by removing dirt, dust, and debris.
You can also use acrylic caulk to fill in the cracks between the moulding and the wall. You can apply this in several places around the room. It is also recommended that you remove switches and lights before painting. If you want to know how to prepare a room and your walls for painting, continue reading.
What Will You Need to Prepare a Room and Your Walls For Painting?
Having a clear understanding of what you will need to prepare a room and your walls for painting will make the process go more smoothly and quickly. This will help ensure that you get a smooth finish, which will save you time and energy. Here is a list of supplies you will need for the project.
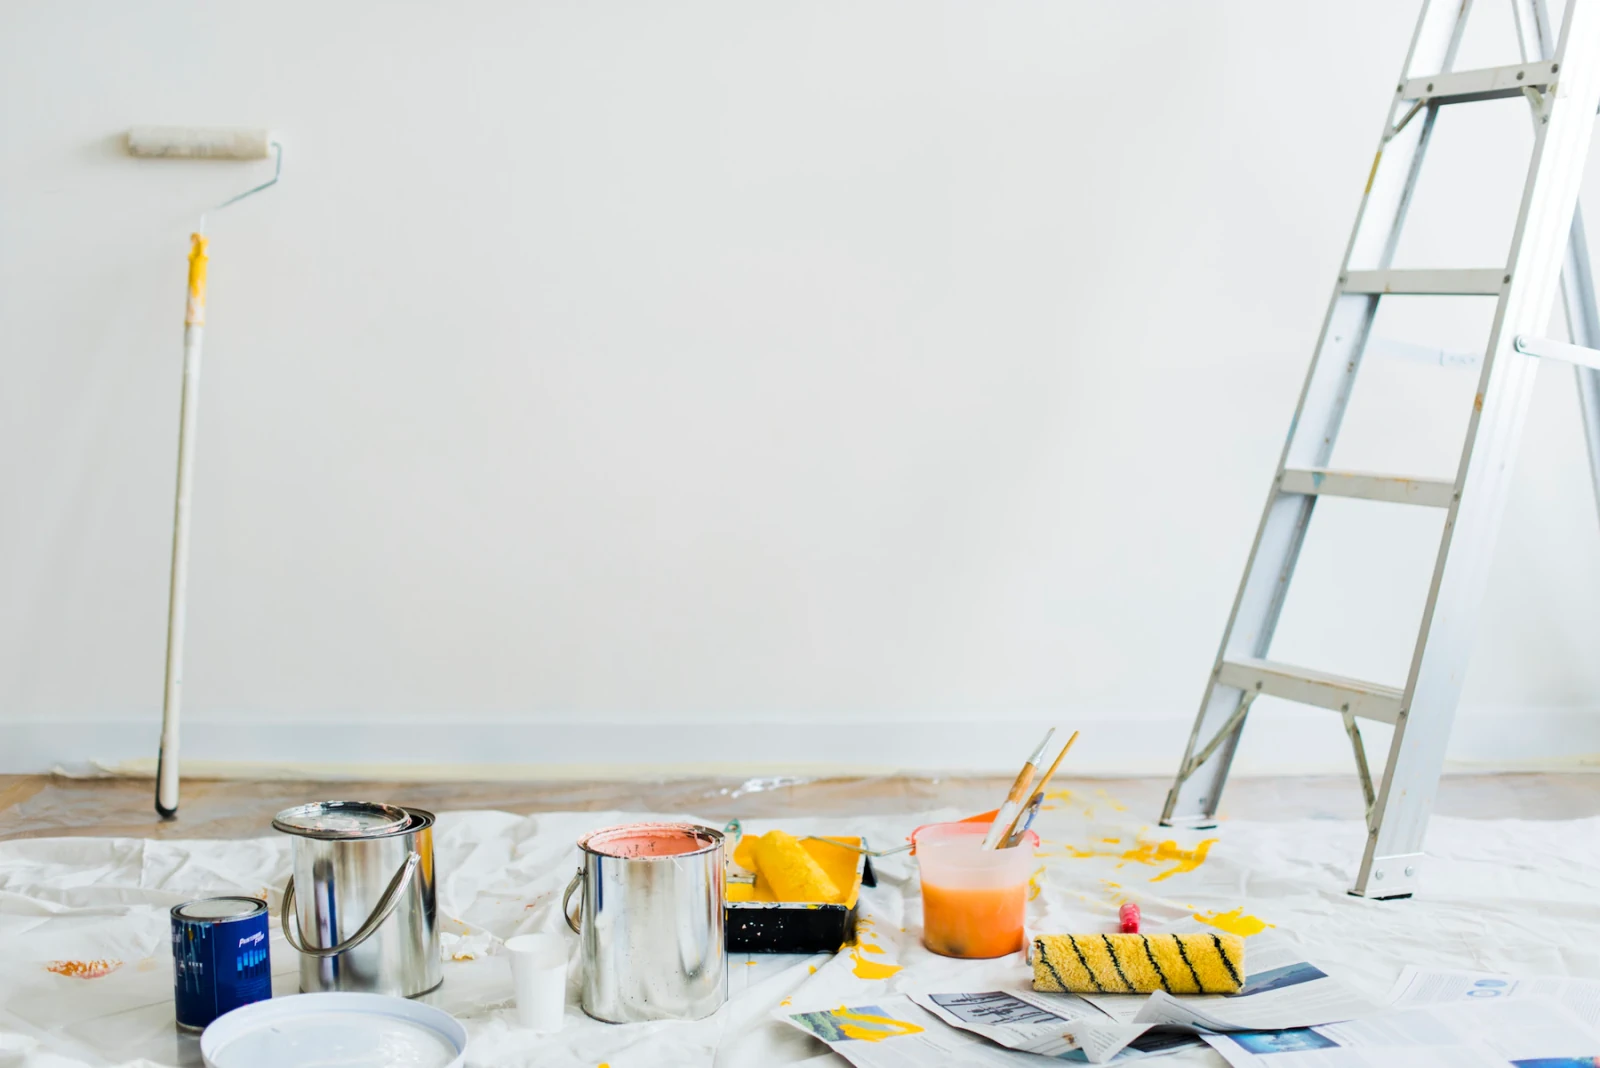
- Protective sheets and drop cloth
- Masking tape
- Soap, bucket and water
- Sponge and gloves
- Stripping knife
- Sandpaper
- Filler and filling knife
Steps to Prepare a Room and Your Walls for Painting
Whether you want to paint your house or want to update your room’s decor, you’ll need to do some steps to prepare a room and your walls before you start painting. Here are the steps you need to follow.
Step 1: Clear Out The Room
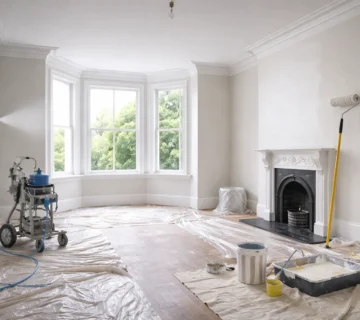
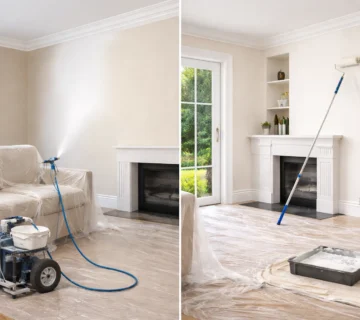
Painting a room can be a pain, but with a little preparation, you can have your sleeve rolled in no time at all. There are many different steps involved, but the main one is preparing the room for painting. Keeping the painting job on the short side means moving furniture around the room. The best position is to situate the furniture in the centre of the room. This will leave you with more room to move around.
Step 2: Put Plastic Cover on Furniture
Putting plastic on your furniture isn’t always a bad idea. It can prevent paint from seeping into your furniture and can keep the room clean and tidy. The downside to plastic is that it can catch on your feet. To minimize this problem, consider covering the floors with drop cloths. You’ll also want to remove the electrical outlet covers and remove the screws from the wall plates.
Step 3: Lay Dropcloths on the Floor
Taking the time to lay dropcloths on the floor is a must if you plan on painting. These clothes can help protect your floors from paint splashes and other hazards. They also help save time when it comes to cleanup. After you’re done, you can fold them up and throw them away. It’s also a good idea to cover any furniture or other household items that may be near the work area.
Step 4: Clean the Walls to Remove Stains and Dirt
Whether you plan to paint your walls or simply want to make them look new and refreshed, cleaning the walls to remove stains and dirt before painting is a good idea. The more dirt and grime you remove, the more your paint will adhere to the surface. The best way to clean the walls to remove stains and dirt before painting is with a combination of soap and water. Make sure that you wear kitchen gloves to protect your hands when cleaning the walls with a sponge.
Step 5: Repair the Cracks and Holes in the Wall
Identifying and repairing the cracks and holes in the wall before painting is important. It will help you to see the flaws and ensure that you paint the wall correctly. There are several tools to use for repairing the wall. You can use a stripping knife to strip away loose paint and use a filler and filling knife to repair the cracks and holes.
Step 6: Sand the Walls
Taking time to prepare your walls before painting can help you achieve the perfect finish. Sanding your walls will remove paint-catching bumps, scratches, and knicks, allowing your paint to adhere better to the wall. Sanding may also be necessary to remove any old gloss paint from surfaces that have previously been covered. Use fine-grit sandpaper to remove scratches and blemishes from walls.
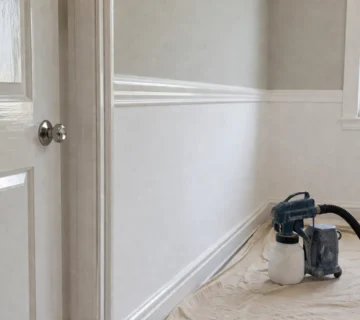
Step 7: Tape Around Windows and Outlets
Whether you are painting your room for the first time or just need to freshen up the walls, taping around windows and outlets is a vital step. This step ensures straight edges and sharp lines while you paint. If you do not tap correctly, your paint job can look uneven and sloppy.
Step 8: Prime the Walls
Using a primer before painting your walls is a great way to get the best results. Priming is especially important when you’re painting over a darker colour. The primer helps to prevent the paint from flashing on the spackling. It also helps create a solid base for the paint.